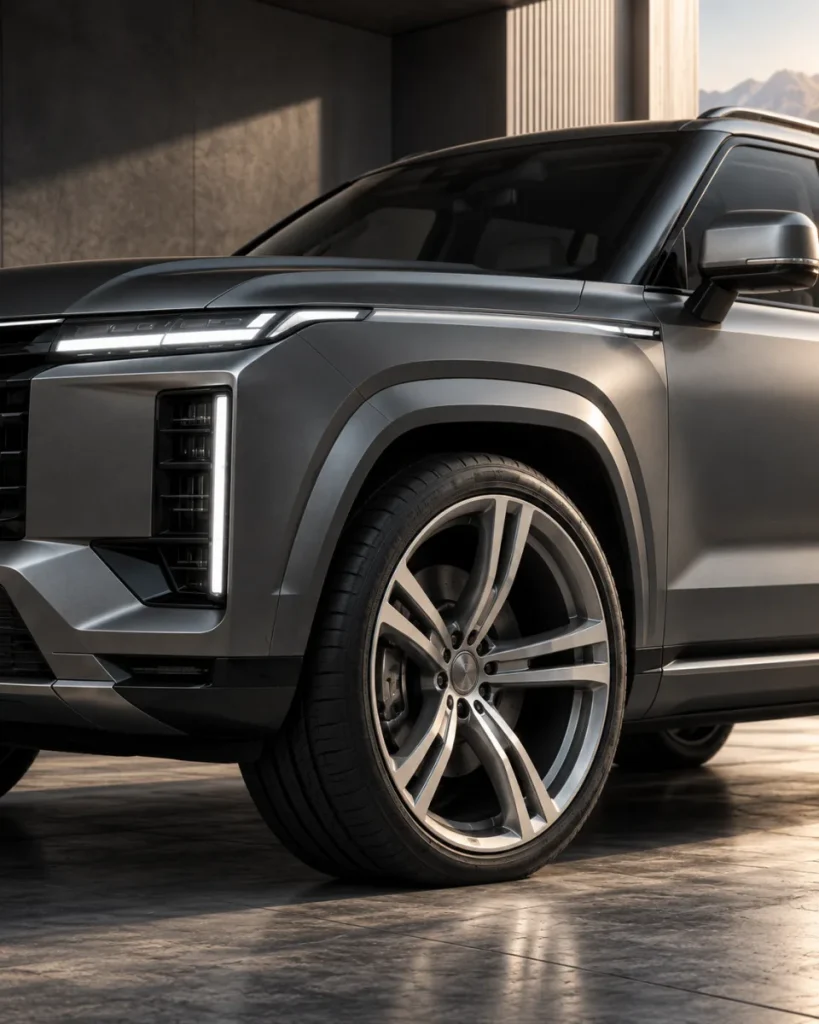
Look along the side of a car. A tire tucked inside the arch gives one impression; a shoulder that sits closer to the body edge gives another. Offset helps position the wheel within that relationship. Start with the stance you prefer, then understand which dimensions and vehicle details create it.
For the complete visual impression beyond ET, read Flush vs Aggressive Fitment.
01 / Read the position first.
VISUAL COMPARISON / STANCE / POSITION
SAME WIDTH. A DIFFERENT POSITION.
Compare the tire edge with the outer arch.
Tucked: the outer tire edge sits further inside the arch in this illustration.
Tucked leaves the tire shoulder visibly inside the arch. Flush describes a shoulder close to the body edge. Aggressive suggests a more outward visual position. These are useful words for discussing a reference image, rather than three preset specifications.
The arch matters as much as the wheel. Wide bodywork, a rounded tire shoulder and a different camera angle can all change the impression. Compare references from a similar front or rear angle, with the whole arch visible. A close crop of the wheel face alone tells you little about its position.
02 / Offset connects the wheel to the hub.
VISUAL COMPARISON / OFFSET / CENTERLINE
OFFSET CHANGES THE POSITION.
Hold the wheel width and vehicle mounting face fixed.
Offset, commonly marked ET, measures the distance between the rim centerline and its mounting face. Positive offset puts that face toward the outside of the wheel. ENKEI illustrates this geometry.
Keep the wheel width and vehicle hub position unchanged: increasing offset moves the wheel inward; reducing offset moves it outward. This is a geometric consequence of the mounting-face position. A lower positive offset can therefore sit farther out than a higher positive offset without becoming negative.
Offset is not the visible depth of the spokes. Two designs can share an offset and still have different faces.
03 / Read width and offset together.
A wider wheel adds space on both sides of its centerline. At the same offset, part of that extra width extends outward and part extends inward. Change the offset as well, and the result combines both changes. Looking only at ET misses half the comparison.
Record the old and proposed width alongside offset, then compare both edges. The actual tire adds its own shape and section width. Use its approved rim-width range and technical dimensions. This keeps the conversation focused on the complete wheel-and-tire assembly, rather than a single number.
04 / Face depth is a separate decision.
A deep concave face can make the center appear farther behind the rim. That visual depth comes from spoke shape and the complete wheel design; it does not tell you how far the tire sits outside the arch.
Compare the face you like with the position you want. Vossen describes width, offset and concavity as related vehicle-specific design decisions. Brake space also depends on the barrel and spoke profile. An attractive ET value alone cannot describe those shapes. See the ARC-01 design study for a face-led starting point.
05 / Check the car in motion.
A parked car shows the stance, while turning and suspension movement reveal the space the assembly uses. The review covers the inner side near suspension components, the outer side near the arch, and the brake assembly. It includes steering lock, suspension travel and tire movement under load.
Continental explains these clearance checks in its plus-sizing bulletin. ENKEI also notes that substantial offset changes can affect handling. The selected combination therefore needs vehicle-specific assessment, including applicable local requirements. A flush appearance is a visual preference, not the result of those checks.
06 / Give the review a useful starting point.
Share your make, model, year and version, plus any brake, suspension or body changes. Add the current wheel width and offset if you know them, and a clear photo of the tire markings. Michelin identifies the vehicle placard and owner’s manual as the original tire references; the tires currently fitted may have been changed.
Include a front or rear arch-level photo and a reference for the stance you prefer. Tell us how you use the car and whether you want a restrained or stronger outward appearance. Unknown dimensions can stay unknown in the first brief. Clear pictures and context are more useful than a guessed ET.
Build around your car.
Choose your direction and send the vehicle details you have. The next step is to review the complete wheel, tire and vehicle relationship before dimensions and project arrangements are agreed.
Explore the Fitment Library or read What Wheel Fitment Actually Changes. The comparisons are schematic and show relationships, rather than measured specifications for a particular car.